Beginner Knitting Guide: Your First Scarf from Cast-On to Bind-Off
There is a particular kind of satisfaction in finishing your first scarf. It is not just that you have made something warm and useful. It is that you have learned a craft that has been passed hand to hand for centuries, and you did it with two sticks and a ball of string. The first attempt will not be perfect. It may be wider at one end than the other, and there may be a hole where a stitch slipped off and you didn't notice. None of that matters. A first scarf is a practice piece, and the skills you pick up along the way are the real result.
This guide walks you through one complete project from start to finish. Choose a simple, smooth yarn, a pair of needles that suit it, and a stitch pattern you can repeat without thinking. By the end you will have a scarf, and more importantly, you will know how knitting actually works.
What You Need Before You Start
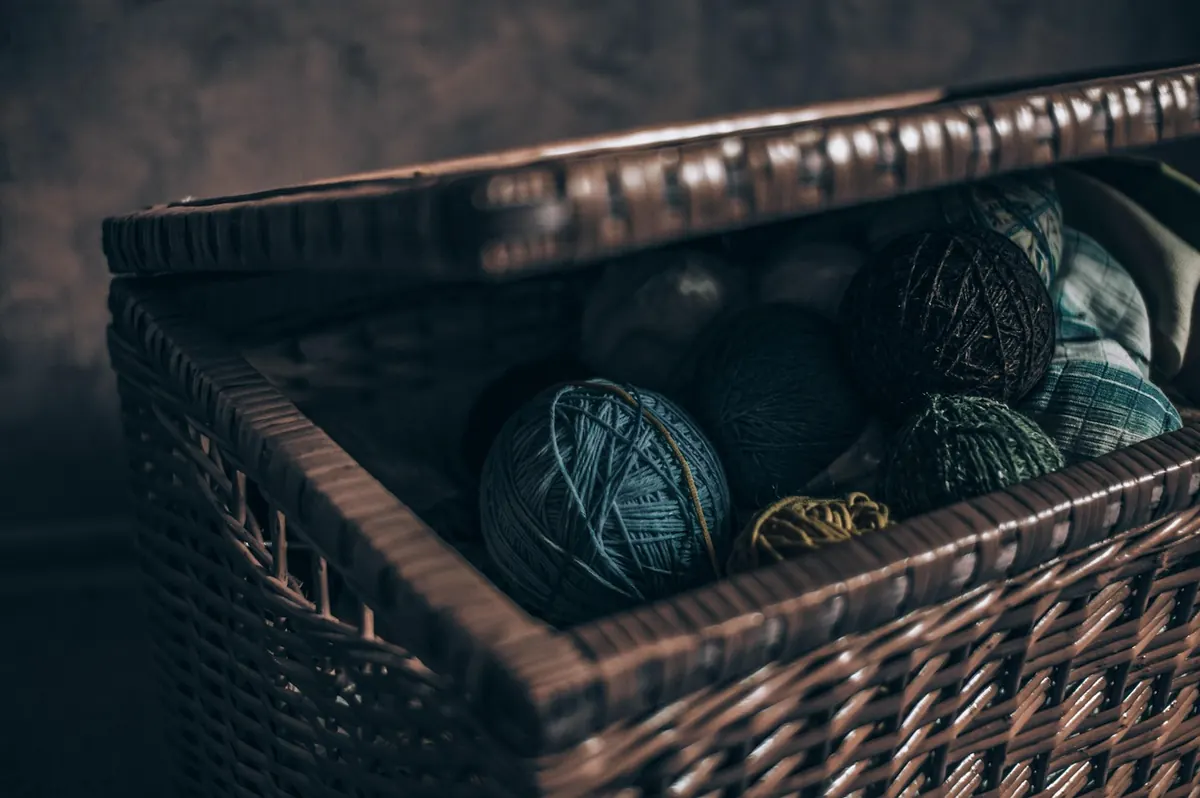
Keep your first project simple. Fancy yarns with fuzz, bouclé loops, or dark colours that hide your stitches will make learning harder than it needs to be. A light or medium-coloured smooth yarn lets you see every loop clearly, which is exactly what you want when you are learning to read your knitting.
For a scarf, a worsted or aran weight yarn is a good choice. It works up quickly on medium needles, so you see progress and don't lose heart. Check the yarn label for the recommended needle size and start there. If you are between sizes, go up slightly rather than down; looser stitches are easier to work into.
- Yarn: two to three balls of smooth worsted or aran weight yarn, in a light or medium colour. Buy all the balls at once and check the dye lot on the labels so your colours match.
- Needles: a pair of straight single-point needles in the size recommended on the yarn label, usually somewhere between 4.5mm and 6mm for worsted weight.
- Tape measure: for checking width and length as you go.
- Blunt tapestry needle: for weaving in the loose ends at the finish.
- Small scissors and a few stitch markers if you have them, though markers are optional for this project.
You do not need a pattern, a chart, or a counter. This scarf uses only two stitches, and one of them is optional.
Casting On: Getting the First Stitches onto the Needle
Casting on is how you create the very first row of loops. There are many methods, but the cable cast-on and the long-tail cast-on are the two most beginners learn. The long-tail is stretchy and tidy; the cable cast-on is easier to keep even. Either will serve you well, so pick one and practise it a few times on scrap yarn before you commit to the scarf.
For a scarf around 20cm wide in worsted weight, cast on about 30 stitches. Don't worry about being exact. A few stitches either way changes the width slightly but does not ruin anything.
The long-tail cast-on in brief
- Pull out a length of yarn roughly four times the width you want your scarf, plus a bit extra. This is your "tail". Make a slip knot at the point where the tail meets the working yarn and slide it onto your needle.
- Hold the needle in your right hand with the slip knot near the tip. Drape the tail yarn over your left thumb and the working yarn over your left index finger, holding both gently.
- Slide the needle under the loop on your thumb, catch the working yarn from your index finger, and pull the new loop through. Let the thumb loop drop.
- Gently tighten. You have made one stitch. Repeat until you have the number you want.
Those first stitches often look uneven, and that is normal. They will even out as you knit the first few rows. Count your stitches once you have finished casting on and write the number down somewhere, because you will want to check it again later.
The Two Stitches You Actually Need
Almost all knitting is built from two stitches: knit and purl. A knit stitch creates a flat, V-shaped bump on the side facing you. A purl stitch creates a horizontal bar. If you can do both, you can make almost anything.
Knitting a stitch
Hold the needle with the cast-on stitches in your left hand. Insert the right needle into the front of the first stitch, going from left to right and pointing away from you. The right needle should sit behind the left one, forming an X. Wrap the working yarn around the right needle counterclockwise, then draw that loop through the stitch. Slide the old stitch off the left needle. That is one knit stitch.
Purling a stitch
Bring the working yarn to the front of your work. Insert the right needle into the front of the first stitch from right to left, so the right needle points toward you. Wrap the yarn around the right needle, draw it through, and slide the old stitch off. That is one purl.
For a first scarf, choose one of two easy options. A garter stitch scarf is knitted on every row, so every stitch is a knit stitch. It lies flat, never curls at the edges, and looks the same on both sides. A stockinette scarf alternates knit rows with purl rows, which gives you a smooth surface on one side and a bumpy one on the other. Stockinette curls at the edges unless you add a border, so for a true beginner, garter stitch is the kinder choice.
Working Through the Rows
Once you have cast on, knit every stitch on every row until the scarf is as long as you want it. That is the whole pattern. A scarf for an adult is usually somewhere between 140cm and 180cm long, and you can simply hold it against yourself as you go rather than measuring obsessively.
The tricky part is not the stitch; it is keeping the same number of stitches on the needle. Most beginner scarves grow wider over time, because a new stitch gets created at the start of a row without anyone noticing. Others get narrower, because a stitch slipped off and was never picked back up.
How to avoid the most common mistakes
Slip the first stitch of each row purlwise without knitting it, and knit the last stitch firmly. This gives you a neat, chain-like edge and makes the width more consistent. Count your stitches at the end of every few rows against the number you wrote down after casting on. If the number has changed, find out why before you carry on.
If a stitch does slip off the needle, don't panic and don't pull. Stop, look at the loose loop, and use the tip of your working needle to hook it back through the stitch it came from, working from the front. A crochet hook in a similar size makes this easier and many knitters keep one nearby for exactly this reason.
Knit a few rows, put the work down, and come back later. Garter stitch is forgiving of interruptions because every row is identical, so you never have to work out where you left off. That is one more reason it suits a first project.
Binding Off and Finishing
When the scarf is the length you want, it is time to bind off, also called casting off. This locks the live stitches so they cannot unravel.
- Knit the first two stitches as normal.
- Insert the left needle into the front of the first stitch on the right needle and lift it over the second stitch, letting it drop off the needle. One stitch remains on the right needle.
- Knit one more stitch, then repeat the lifting step. Continue across the row.
- When one stitch remains, cut the yarn leaving a tail of about 15cm, pull it through the last loop, and tighten gently.
Keep your bind-off loose. A tight bind-off makes the end of the scarf pull in and feel stiff. If you tend to bind off tightly, use a needle one size larger for this final row.
Now weave in the loose ends. Thread each tail onto the blunt tapestry needle and run it along the wrong side of the fabric, in and out through the backs of several stitches, changing direction once or twice to secure it. Trim the excess. Give the scarf a gentle wash according to the yarn label and lay it flat to dry, shaping it into a neat rectangle while it is damp. This final step, called blocking, evens out the stitches and softens the fabric considerably.
A Few Words of Encouragement
Your first scarf may take a few weeks if you knit in short sessions, and that is fine. Speed comes with repetition, not with effort. Once you can knit without looking at your hands, you will find the rhythm and the rows will fly by.
Keep this first scarf, even if it is lumpy. In a year, when your stitches are even and your edges are straight, you will want the comparison. Then cast on another one, maybe in a different colour, and try a knit-and-purl pattern in stripes. The second scarf is where most people discover that they actually love knitting. The first one is where they find out they can.
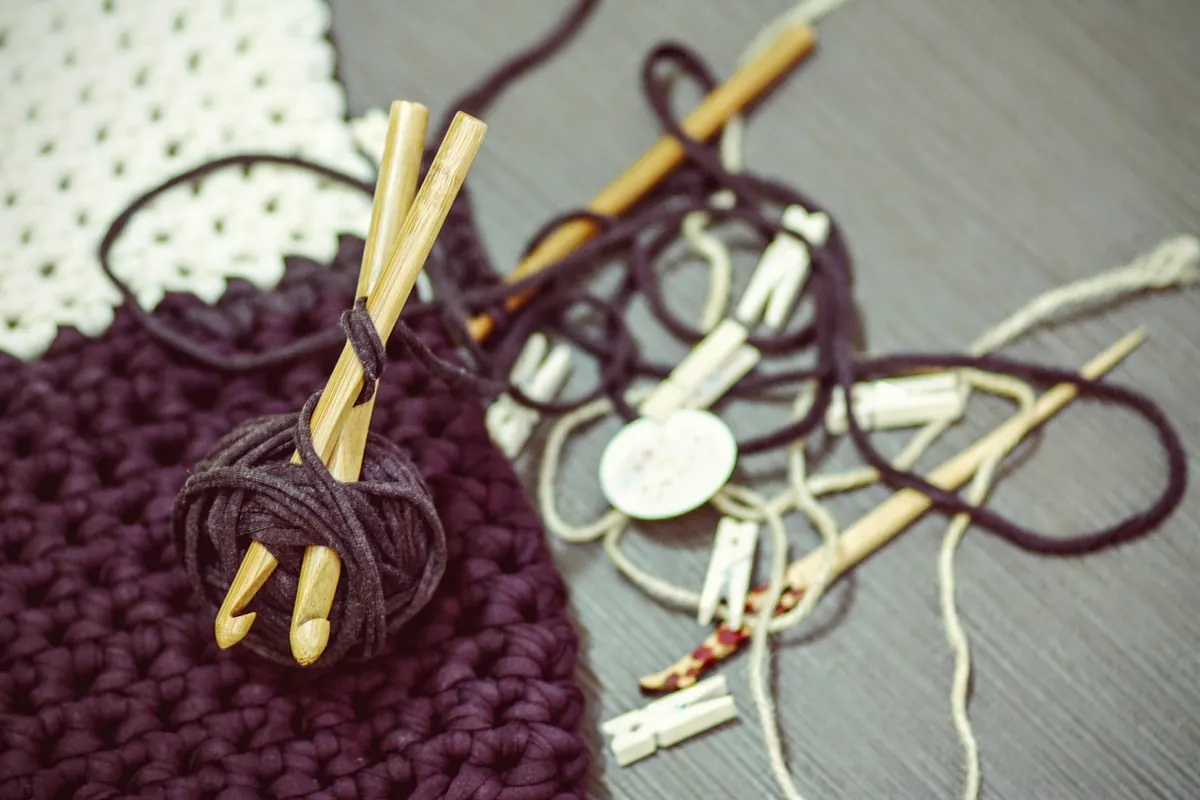
Photo: StockSnap / Pixabay
Summer Crochet: Lightweight Yarn Choices for Breathable Tops and Bags
A practical guide to choosing cotton, linen and summer blend yarns for crocheted tops and bags, with notes...
Local Italian Mill Yarn: Why Small-Batch Wool Offers Unique Texture and Color
Small-batch yarn from Italian mills behaves differently from mass-market skeins: how texture and colour...
About Us