Crochet Amigurumi for Beginners: 7 Common Mistakes and Fixes
Your first amigurumi is allowed to look handmade. What it shouldn't do is stare back at you through a gap wide enough to see the stuffing, or lean to one side like it's had a long day. Almost every problem beginners run into with amigurumi comes down to a handful of habits, and most of them can be fixed in the next round rather than the next project. Here are the seven mistakes that cause the most trouble, what's actually behind each one, and the practical change that puts it right.
1. Gaps Between Stitches and Stuffing Showing Through
The most common cause of gappy amigurumi is a hook that's too large for the yarn. Toys are worked tightly on purpose, usually with a hook one or two sizes smaller than the yarn label suggests, so the fabric stays dense enough to hold stuffing without revealing it. Hold your first few rounds up to a lamp: if light comes through, the fabric is too open for a toy.
Tension is the second suspect. Many people start a project tightly and relax as they go, which is why the head of a bear ends up firmer than its body. If that sounds familiar, check your tension at the top of the piece, not only at the start.
Two fixes are worth trying. Drop down one hook size and work a test round before committing to the whole toy. Then try yarn under single crochet, where you keep the working yarn under the hook rather than over it; it makes a tighter stitch with crossed legs and is popular in amigurumi for exactly that reason. Finally, resist overstuffing. Stretching the fabric opens the very gaps you're trying to close.
2. Uneven Shaping and Rounds You Lost Track Of
Amigurumi worked in a continuous spiral has no obvious round boundaries, so it's easy to gain or lose a stitch and not notice until the shape leans. If one side of your piece bulges, count the round. The increase or decrease is probably missing, or worked twice.
Use a stitch marker in the first stitch of every round and move it as you go. If you set the work down "just for a minute", add a second marker so you know where you stopped. A paper tally or a row counter on your phone does the rest.
Then stagger your increases. If you increase in the same column every round, you get a hexagon with visible corners instead of a circle. Splitting the round's increases, working half at the start and half offset later, smooths the shape considerably. Decreases behave the same way.
Pick one method and stay with it: spirals or joined rounds. Switching mid-piece leaves a diagonal seam and a visible step.
3. Bulky Decreases That Leave Bumps and Holes
Not all decreases are equal. A standard single crochet two together pulls two stitches into one and often leaves a small bump with a hole beside it. Fine for blankets, less so for a teddy's snout. The invisible decrease works only in the front loops and is much tidier:
- Insert your hook into the front loop only of the next stitch.
- Insert it into the front loop only of the following stitch, so you have two front loops on the hook.
- Yarn over and pull through both front loops.
- Yarn over again and pull through the two remaining loops.
Keep the working yarn snug as you finish each decrease, because loose decreases are exactly where holes appear. Never substitute "skip a stitch" for a decrease: it changes your stitch count and leaves an obvious gap. And space decreases evenly around the round. On twenty-four stitches with six decreases, for example, work one decrease in every fourth stitch rather than bunching them at the end.
4. Stuffing That's Too Loose, Too Firm, or Too Early
Stuffing causes more shape problems than any single stitch. Too little and the piece dents, flops at the neck and never holds its silhouette. Too much and the fabric stretches, the gaps reopen and your seams start to split.
Add the filling in small pinches rather than one big handful, and push it into limbs with the blunt end of a hook or a chopstick. Stuff limbs before you close them and before you sew them on; a limb filled later through a tiny hole never sits right. Leave the top third of each limb slightly underfilled so the seam lies flat against the body.
For the body, pack the base firmly if the toy should sit up, and keep the neck lighter so the head doesn't wobble on a hard column of filling. When you think you're done, roll the piece between your palms and look at it from the front, side and top. Asymmetry shows up fastest from above.
One safety note: if the toy is for a baby or a toddler, embroider the eyes instead of using plastic safety eyes, and check current safety guidance for the age group before you choose any small parts.
5. Openings That Never Close
Three openings cause most of the trouble: the magic ring, the chain-two start, and the final hole at the top of a closed piece.
A magic ring only stays closed if you anchor it. Pull the tail firmly after the first round, then weave it through the backs of several stitches in that round and back through the ring itself, rather than threading it into the middle where it will slowly loosen with handling.
A chain-two start is perfectly workable, but it leaves a small hole in the centre of the piece. For toys, the magic ring gives a cleaner result.
For the final hole, cut the yarn leaving a long tail and thread it onto a tapestry needle. Pass the needle through the front loop of each remaining stitch, going around once, then pull tight. Take the needle down through the middle of the piece, out somewhere nearby, and weave the tail in. Do this while the piece is still a little soft, not after it has been squeezed into shape.
6. Rushed Finishing: Seams, Placement and Loose Ends
Sewing is where a well-made piece starts to look careless. Pin first: attach arms and legs with pins, stand back, and check the toy from three angles before a single stitch is sewn. Count rounds so both arms sit at the same height, because one limb a round higher is instantly noticeable.
Use a ladder or mattress stitch with the same yarn you crocheted with, keeping stitches small and even, and pass through the same holes twice to firm up the join. Place the eyes before you close the head and mark the position with pins first; a couple of millimetres changes the whole expression.
Weave your ends in two directions through the inside of the piece and change direction at least once. Knots work loose over time and create hard lumps that show through the fabric.
A Short Practice Plan for Cleaner Amigurumi
Don't test seven new habits on a gift. Work a small ball and
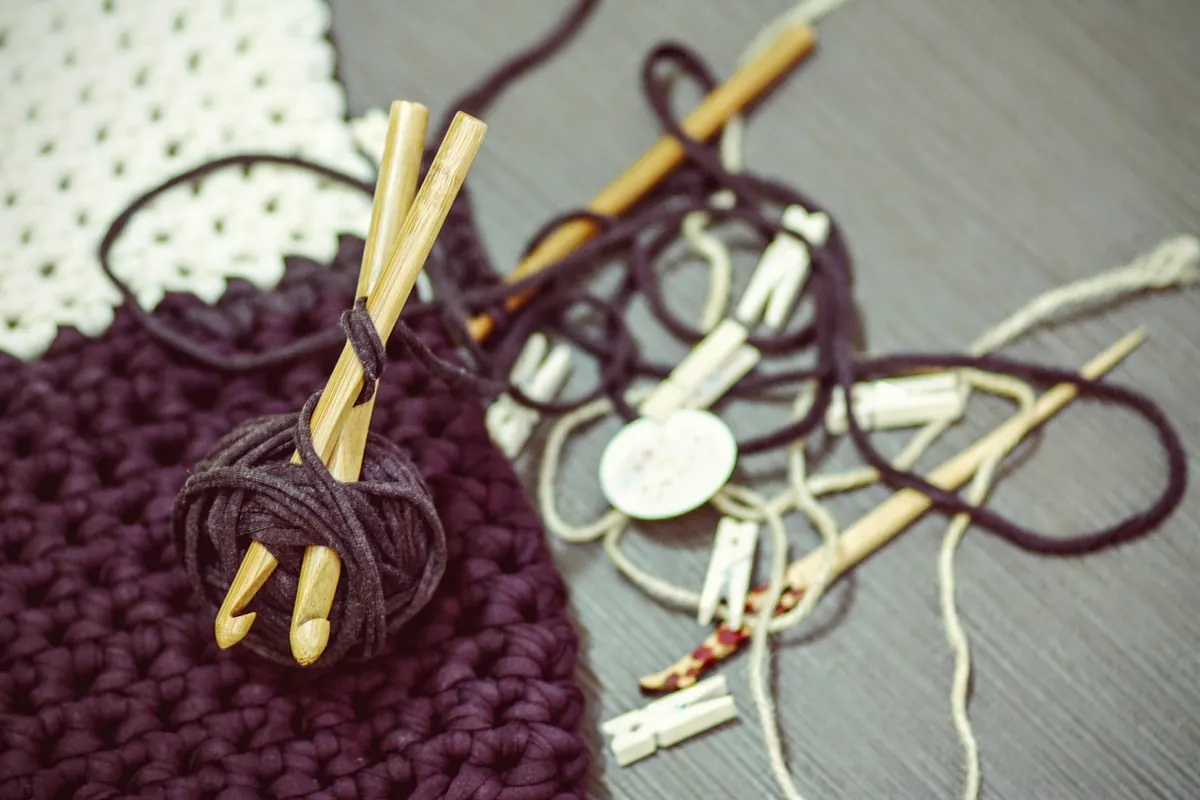
Photo: FeeLoona / Pixabay
Summer Crochet: Lightweight Yarn Choices for Breathable Tops and Bags
A practical guide to choosing cotton, linen and summer blend yarns for crocheted tops and bags, with notes...

Local Italian Mill Yarn: Why Small-Batch Wool Offers Unique Texture and Color
Small-batch yarn from Italian mills behaves differently from mass-market skeins: how texture and colour...
About Us